It might be easy to wrap a gift; however, knowing how to wrap a present can be able to make a gift that is special. A well-packaged gift creates a sense of anticipation, demonstrates care, and even creates a personal touch to the gift even before it is opened.
You may be planning a birthday, wedding, holiday, or anniversary, or even a special surprise, but when you have perfected the art of wrapping gifts, you will be able to make your presentation much better. This is a detailed guide to how to wrap a present step by step, with expert advice, ideas, and tricks for solving difficult shapes.
Why Gift Wrapping Matters
It is worthwhile to have a clue as to why wrapping is important before getting down to the process. A well-wrapped gift:
- Shows effort and care
- Builds anticipation
- Adds value to the experience.
- Is a mirror of your style and personality.
- A simple present will be more significant when it is neatly packed.
Critical Supplies You Require.
The first thing to do to wrap a present is to get the right supplies. Here’s what you’ll need:
- Wrapping paper
- Scissors
- Double-sided or clear tape
- Ribbon or bow
- Gift tags
- Optional: Tissues, gift boxes, adornments.
Presents Wrapping: Step-by-Step Guide.
Step 1: Measuring the Wrapping Paper.
Your gift box should face down on the wrapping paper. Measure the amount required by pulling the paper over the box. The box must be well covered with a slight overlapping of the paper.
Ensure that you do not cut off too little or too much. Too much paper will mess up your gift.
Step 2: Cut the Paper Neatly
Cut with sharp scissors. Folded in a straight cut is simpler to fold and more presentable.
In case your wrapping paper crunches at corners, flatten it before it is rolled.
Step 3: Fold and Tape the First Side.
Lay the bowl in the middle of the paper, inverted. Take one end of the paper and roll it closely over the box, and then hold it together using tape in the middle.
Then press the other side across, and it should fit snugly. Before taping down, bend the edge inwards to achieve a clean seam.
Step 4: Fold the Ends
Now move to one open end of the box.
Push the sides inward to create triangular flaps.
Fold the top flap down firmly.
Fold the bottom flap up and secure it with tape.
Repeat the same process on the other side.
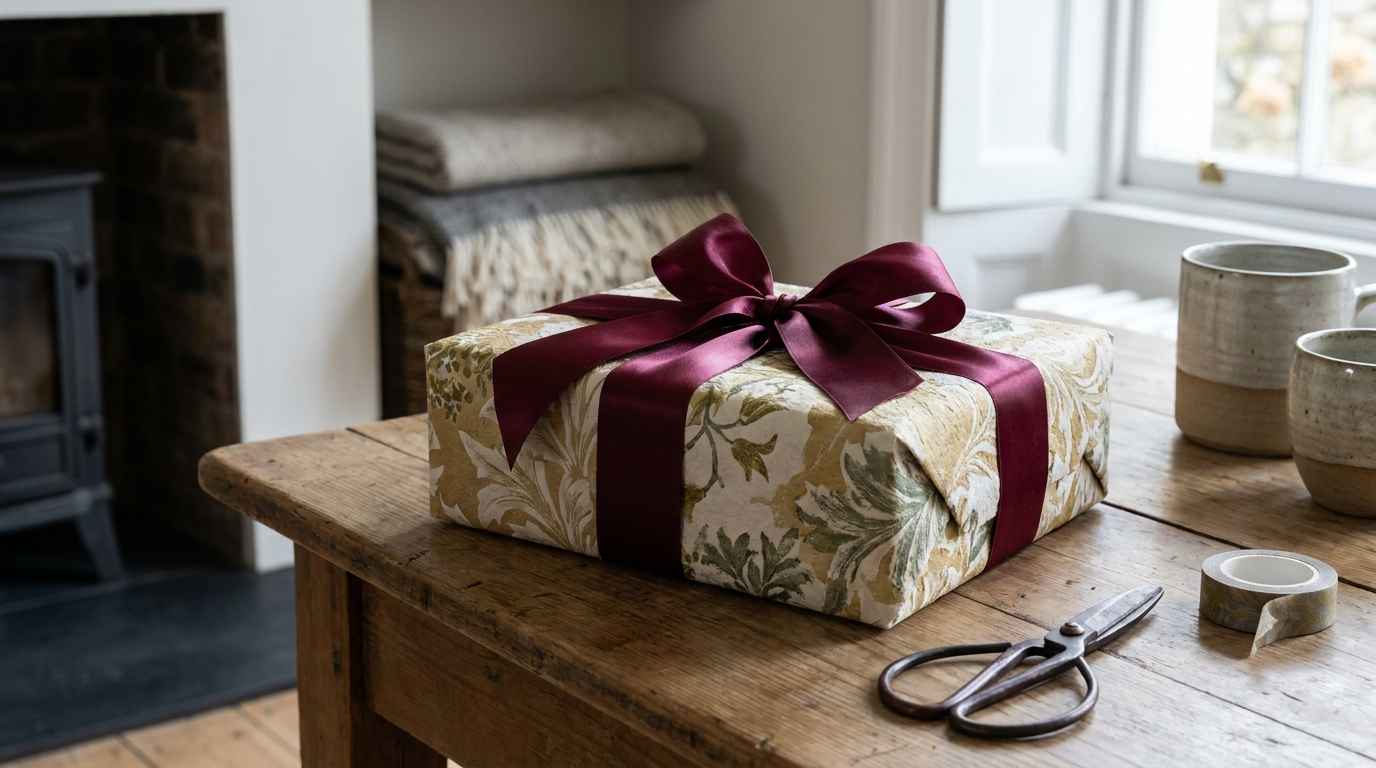
Step 5: Add Ribbon and Decorations
Once your present is wrapped, add a ribbon or bow for a finishing touch. You can:
This final step makes your gift look complete and elegant.
How to Wrap Odd-Shaped Presents
Not all gifts come in neat boxes. Here’s how to handle unusual shapes.
Soft Items (Clothes, Scarves, Plush Toys)
Use a gift box first. Placing soft items inside a box makes wrapping easier and gives structure.
Alternatively, use gift bags with tissue paper for a quick and stylish solution.
Cylindrical Items (Candles, Bottles)
For round items:
Wrap the main body like a candy wrapper.
Twist and tie the ends with ribbon.
For wine bottles, use bottle bags or wrap them diagonally for a sleek finish.
Large Items
For oversized gifts:
You can also place the item in a decorative basket and wrap the basket instead.
Gift wrapping Ideas that are creative.
These are the creative ways to make your gift unique.
Fabric Wrapping
There should be no paper, but instead decorative fabric or scarves. This is recyclable and friendly to the environment.
Minimalist Style
Combine plain brown kraft paper and adorn with:
Twine
Dried flowers
Handwritten notes. This makes it look contemporary and sophisticated.
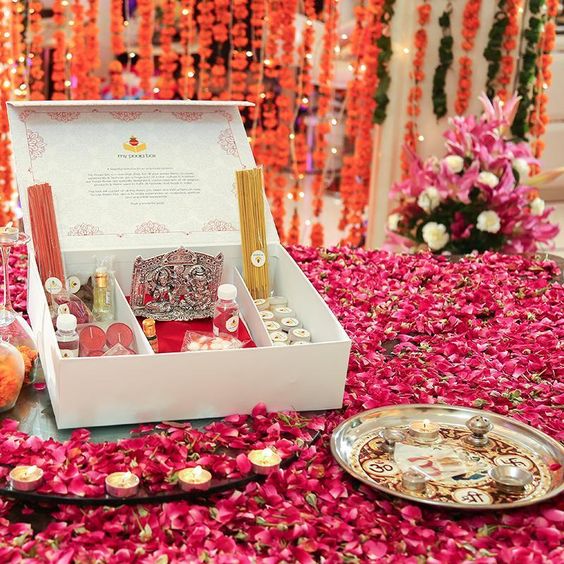
Themed Wrapping
Wrap your paper to the occasion:
- Bright prints for birthdays
- Metallic paper for weddings
- Holiday festive designs.
- Individuality is an additional touch.
Gift wrapping mistakes to avoid.
Learners in the initial stages tend to commit the following errors when they are learning how to wrap a present:
- Using Too Much Paper
- Too much paper forms huge folds. Big measurement, then cut.
- Not Folding Edges
- Unfolded edges look messy. Fold sides on the outside upwards, and always under.
- Loose Wrapping
Hold the paper close to the box. The loose wrapping presents the gift as sloppy.
Too Much Tape
Avoid visible tape. Small pieces should be used in strategic places, and double-sided tape should be considered to achieve a smooth appearance.
Gift Wrapping Environmentally Friendly.
In the event you are concerned with sustainability, the following are some of the greener choices:
- Use newspapers or magazines.
- Use reusable fabric wraps.
- Select wrapping recyclable paper.
- Skip plastic bows
- Green wrapping can be creative and beautiful as well.
Learning to Wrap a Gift like a Pro
The attention of professional gift wrappers is concentrated on:
- Sharp creases
- Hidden tape
- Balanced ribbon placement
- Symmetry
Be patient and be accurate. Experience enhances your ability in a short period of time.
Final Thoughts
Learning how to wrap a present is more than just covering a box with paper. It’s about presentation, creativity, and showing care. A beautifully wrapped gift makes the recipient feel valued before they even see what’s inside.
With the right materials, careful folding, and a little creativity, anyone can master gift wrapping. Whether you're preparing a simple birthday surprise or a grand wedding present, wrapping it beautifully adds that magical finishing touch.
Practice these techniques, experiment with styles, and soon you’ll wrap presents like a professional.
Frequently Asked Questions (FAQs)
1. How much wrapping paper do I need to wrap a present?
Measure by placing the box in the center and ensuring the paper fully covers it with a slight overlap. It’s better to measure first, then cut.
2. What is the easiest way to wrap a present?
The easiest way is to use a rectangular box and follow the standard folding method. Gift bags are the fastest alternative.
3. How do you wrap a present without tape?
You can use ribbon to secure folds or try fabric wrapping techniques that don’t require tape.