If you are making story videos for children, the voice you use plays a major role. Whether you are a teacher, parent, or content creator, a child-friendly voice can make your story more entertaining and enjoyable to listen to.
Children like stories more when the voice sounds like their own, clear, warm, and playful. This is why a lot of people are now using the CapCut desktop video editor.
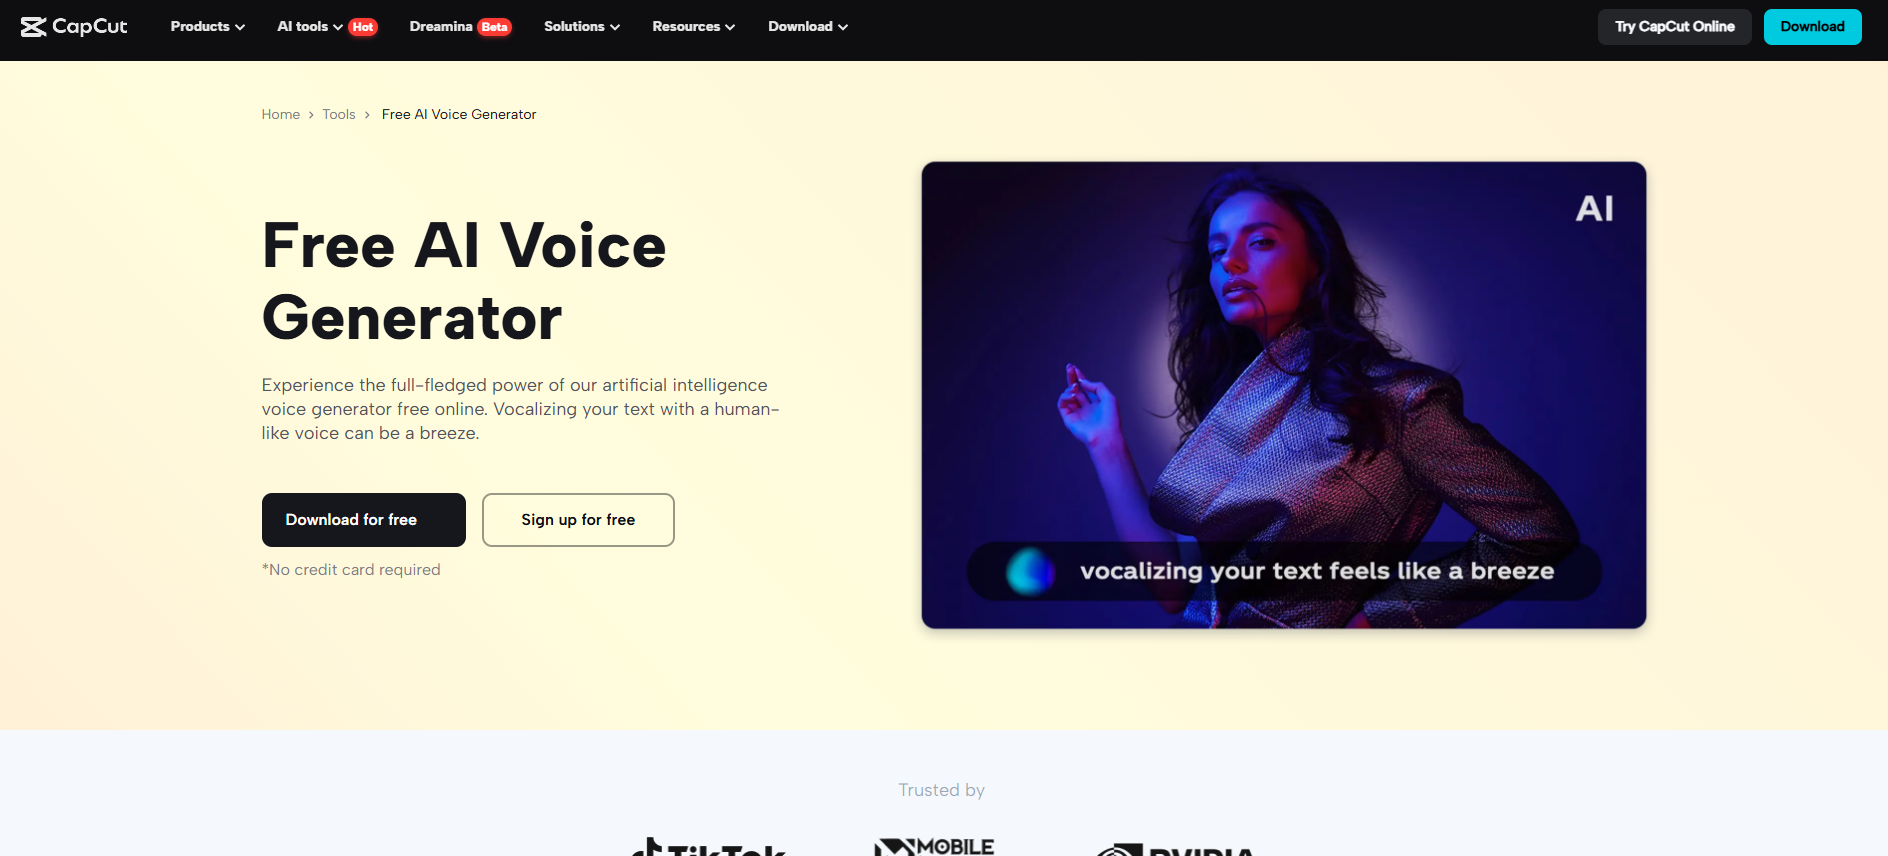
It allows you to transform written lines into voice via its text-to-speech feature. You do not need to use your voice. Just type your script, pick a voice, and the tool takes care of the rest.
But remember, some of the pro voices or features might require additional cost. In this tutorial, you’ll learn how to use CapCut PC to create voiceovers that speak directly to children.
Why Use Kid-Like TTS Voiceovers for Story Animations?
Children listen better when the voice in a video sounds fun and friendly. If the voice sounds boring or too adult, they will lose focus. This is why using a kid-like voice in story animations is such a great idea. It sounds closer to their world.
A robot or flat tone will not be comfortable for kids' ears. They may not listen to the story or enjoy it as well. But a gentle or playful tone will bring the story alive. It can facilitate them in understanding the characters and following what is happening.
You are not required to hire a voice actor or record your voice. Something like a CapCut PC text-to-speech feature will work just fine. It allows you to convert written lines to speech with ease, with just a few clicks.
Using the assistance of an AI voice generator, you can choose from a variety of voices created specifically for children. This is time- and effort-saving, and yet provides you with excellent results that children will adore.
Utilizing CapCut PC's Text-to-Speech Feature for Child-Friendly Narration
The CapCut desktop video editor has a built-in text-to-speech feature that converts written lines into voice. You can use it when creating videos for children. You can select from a long list of voices that sound warm and clear. Some even resemble a child's voice, which is perfect for story videos.
There are numerous voice tones in the tool. You can choose a gentle, eager, or relaxed voice. These voice tones assist in making your story feel just right. You can even change the pitch and speed of the voice. This makes the words sound proper for younger audiences.
Good sound alone is not enough. If your video looks blurry, it may lose the child’s focus. That’s why using an AI video upscaler is a smart move. It can improve your video’s quality to match the clear voice output, giving you a full upgrade in both sound and visuals.
The CapCut PC text-to-speech software is user-friendly. But remember, some voices can be additional. They are included in the paid option.
Nevertheless, with its robust features and clear voices, this software makes voiceover editing easy to implement for young audiences.
How to Install CapCut PC for Voiceover Editing
To begin with, download the CapCut desktop video editor from its official website. Do not use app stores or third-party links. This keeps your device secure and the software updated.
After downloading, install it by following the on-screen steps. Then, you will have to log in using your account to access the editor.
The installation is fast and easy. But remember that CapCut PC is not entirely free. Some features, such as some text-to-speech voices, require payment to access.

Steps to Add a Child-Friendly Voiceover Using CapCut PC
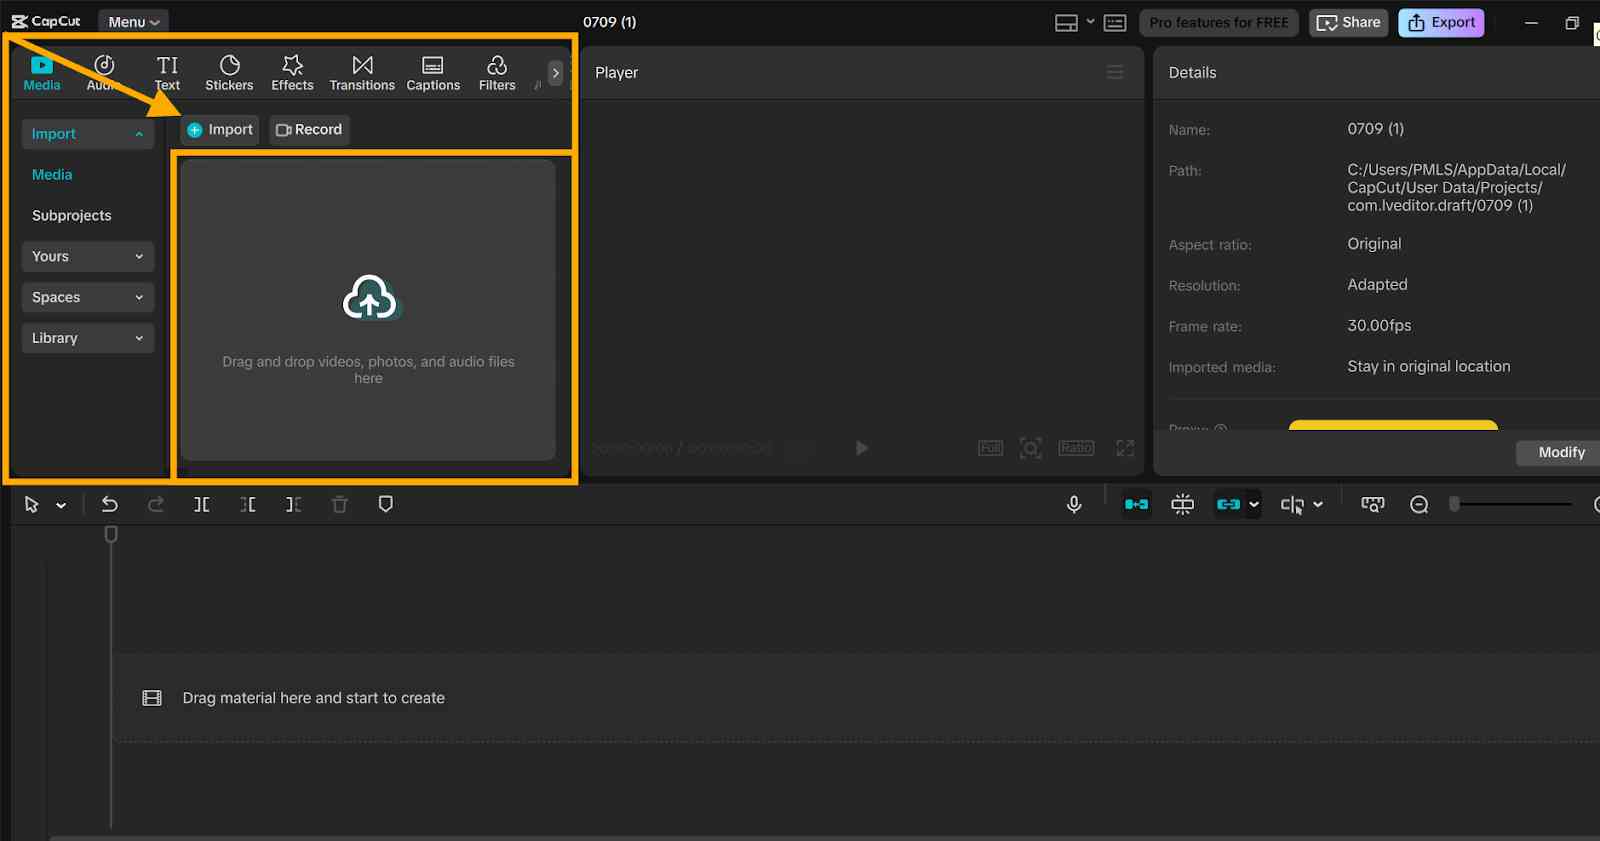
Step 1: Import Your Story Animation Video
Open the CapCut PC desktop video editor. Click the "Import" at the top left. Select your animated story video and upload it. Then drag the video to the timeline to start editing.
Step 2: Add Text for Voiceover Generation
Click the “Text” tab on the left panel. Choose "Add text" and input the lines of your story. After that, highlight the text box. Navigate to the right side and click on "Text-to-Speech".
A tool like text to speech AI can convert these lines into smooth, kid-style voices without requiring real voice recording.
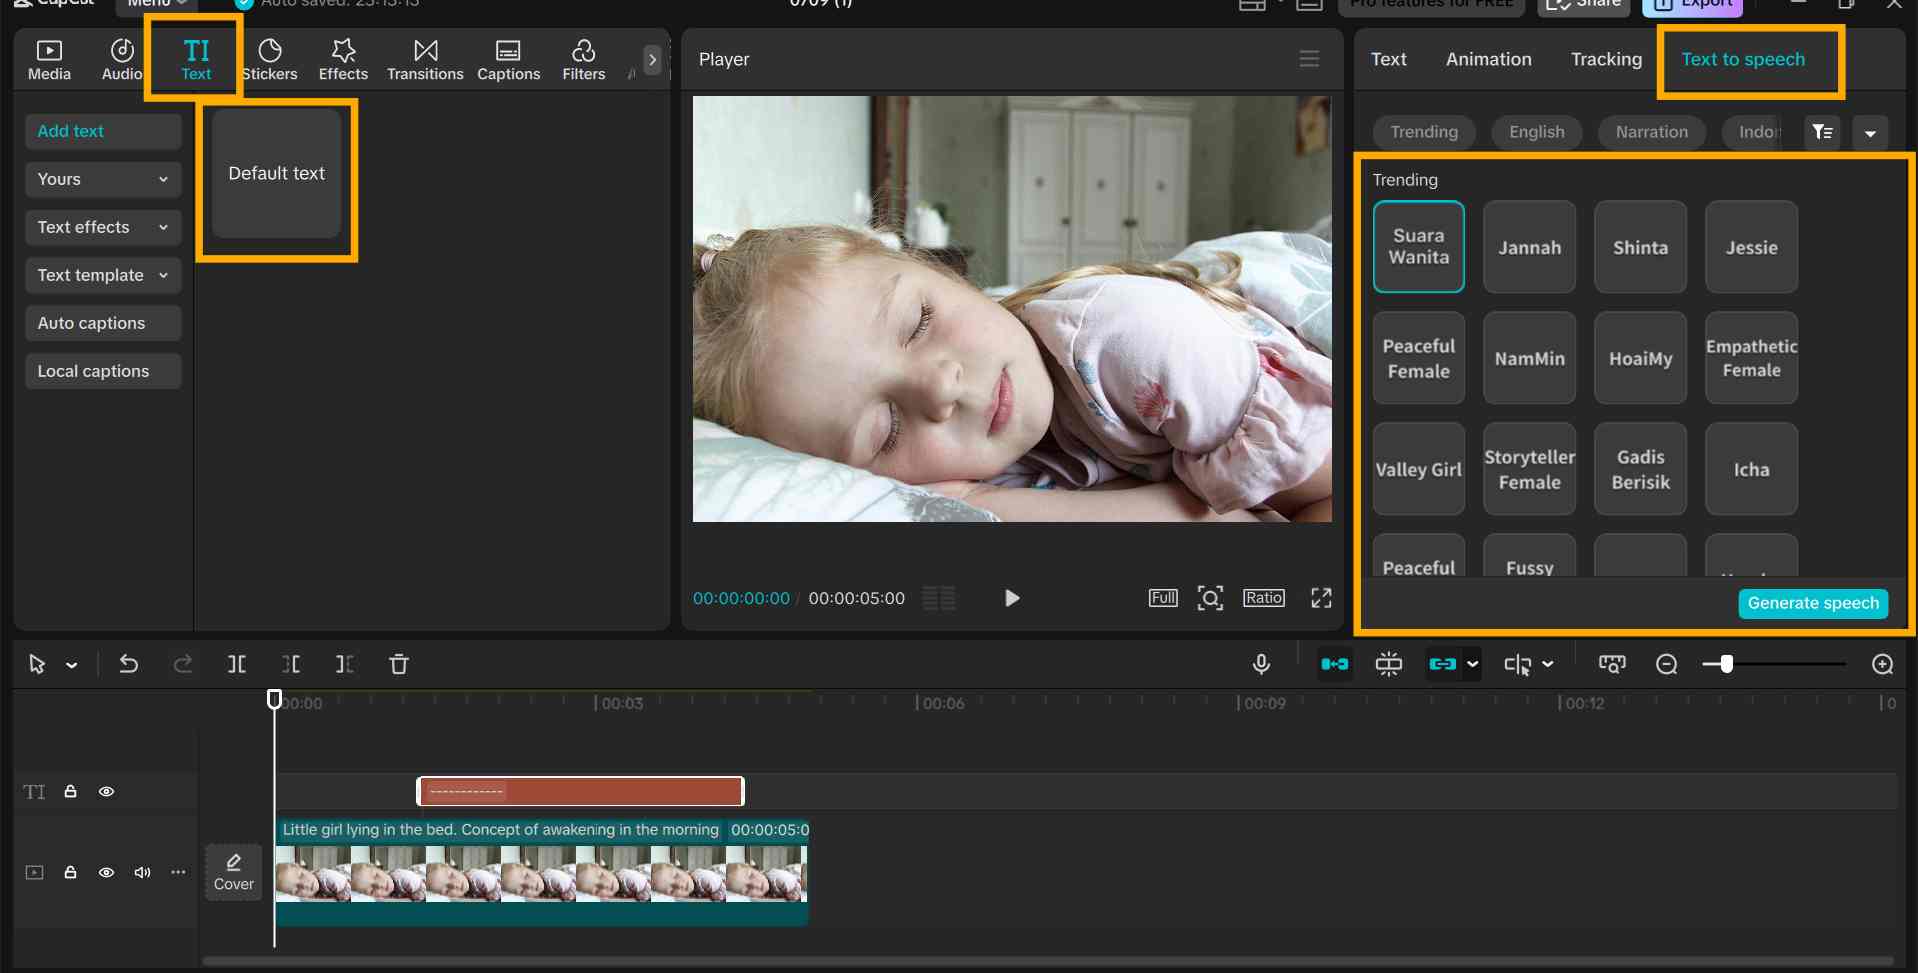
Step 3: Choose a Kid-Like TTS Voice
Visit the list of voice styles. Choose a cheerful, gentle, or playful voice that fits your story. Use the preview function to listen. Adjust pitch, speed, or tone as desired. Some voice styles can only be accessed with the paid version.
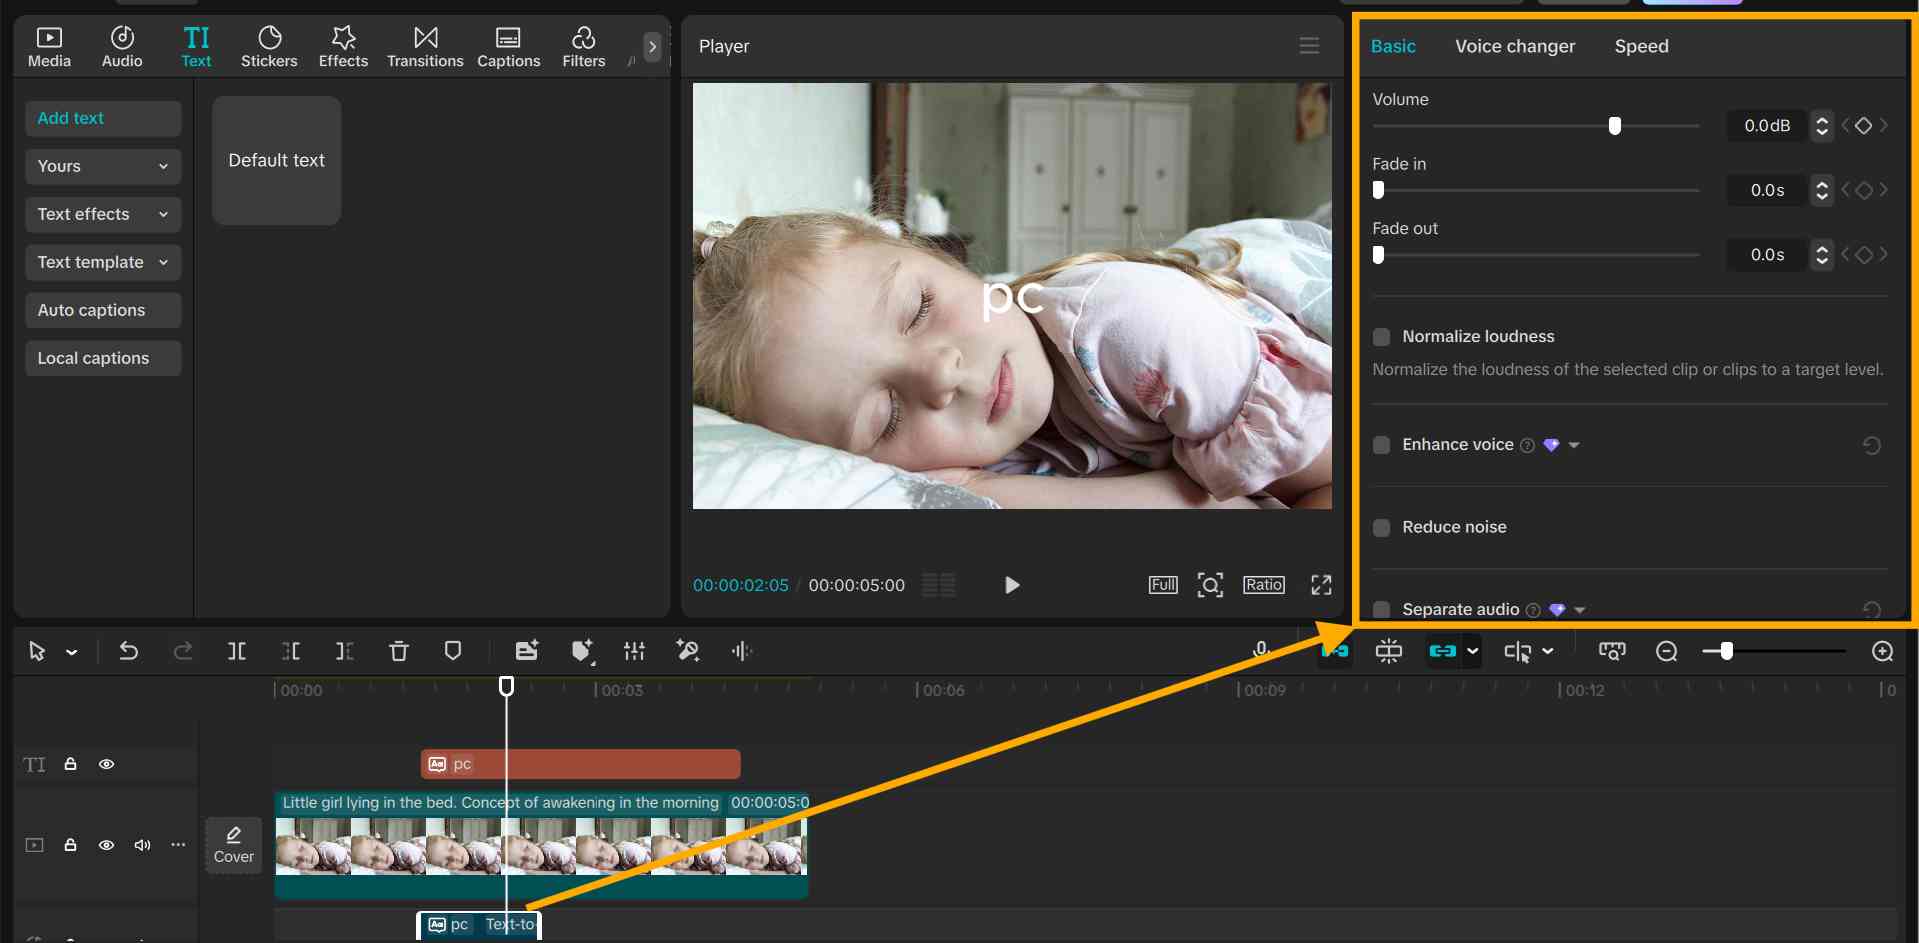
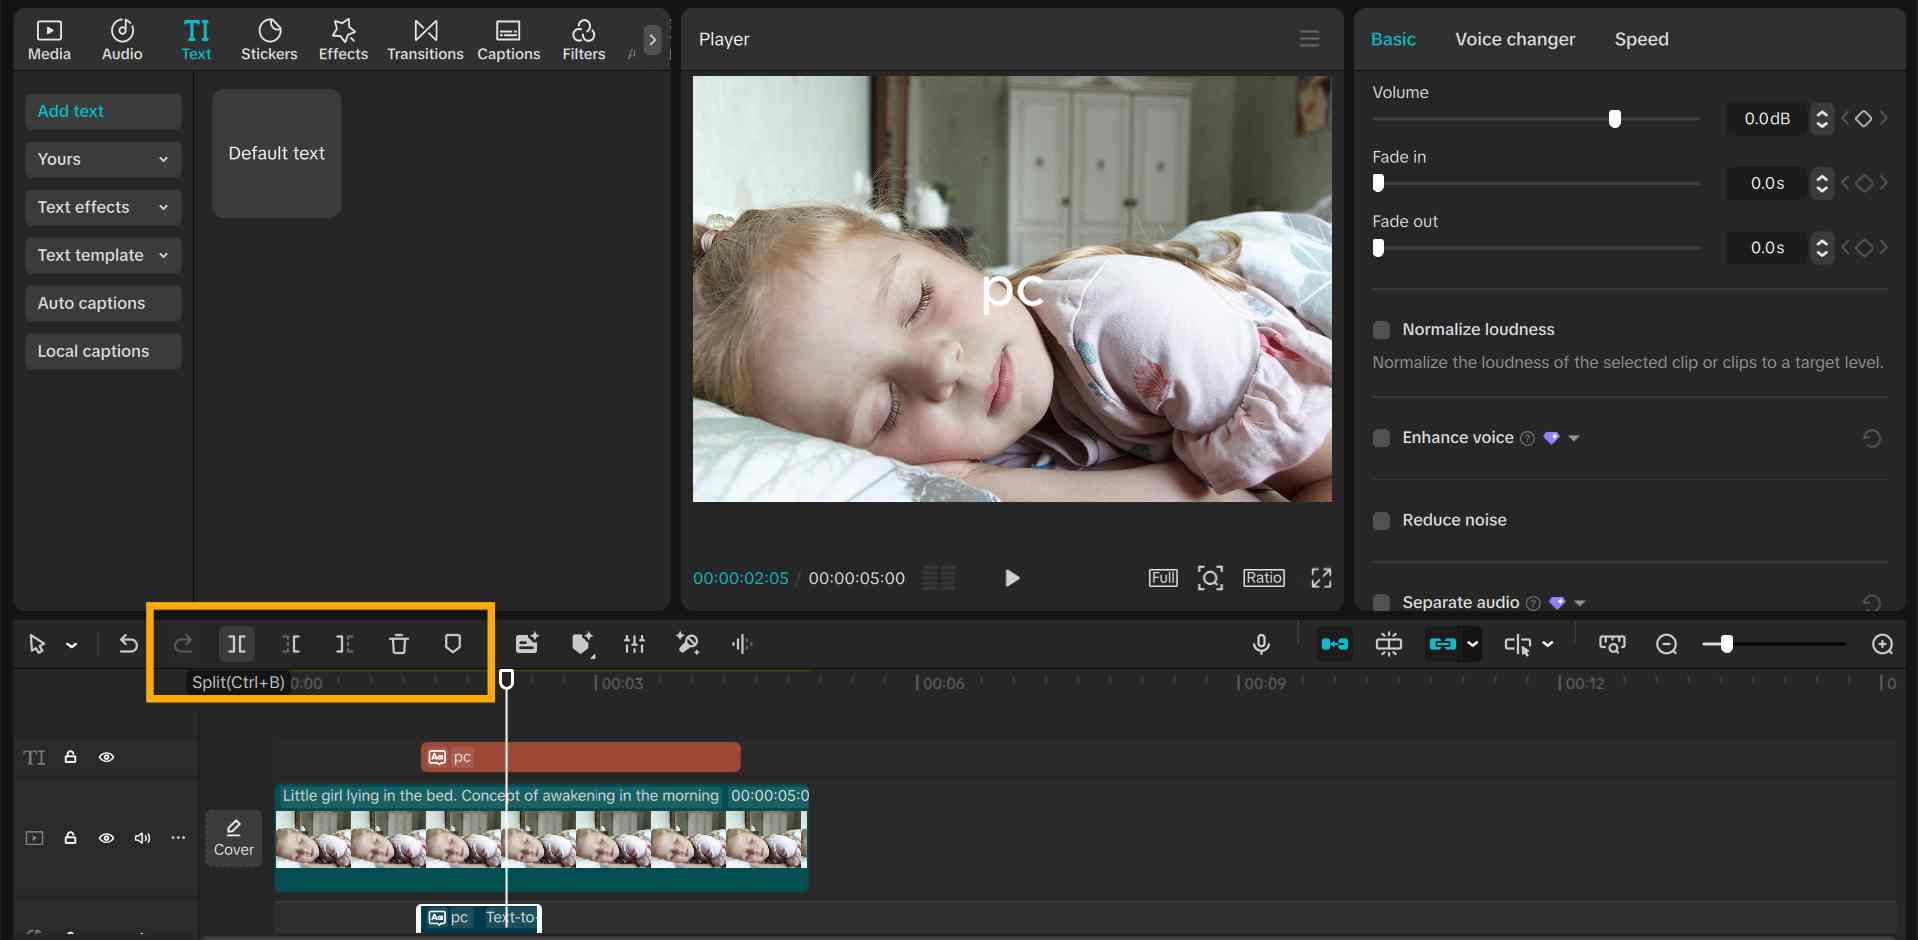
Step 4: Sync Voiceover with Animation
Once you select the voice, drag the TTS clip under the matching scene in the timeline. Use the “Split” tool to trim any long lines. Use the “Drag” tool to move clips for better timing.
Try to align the start of each line with key actions in the video. This makes the story feel natural and keeps kids focused on the voice and action together.
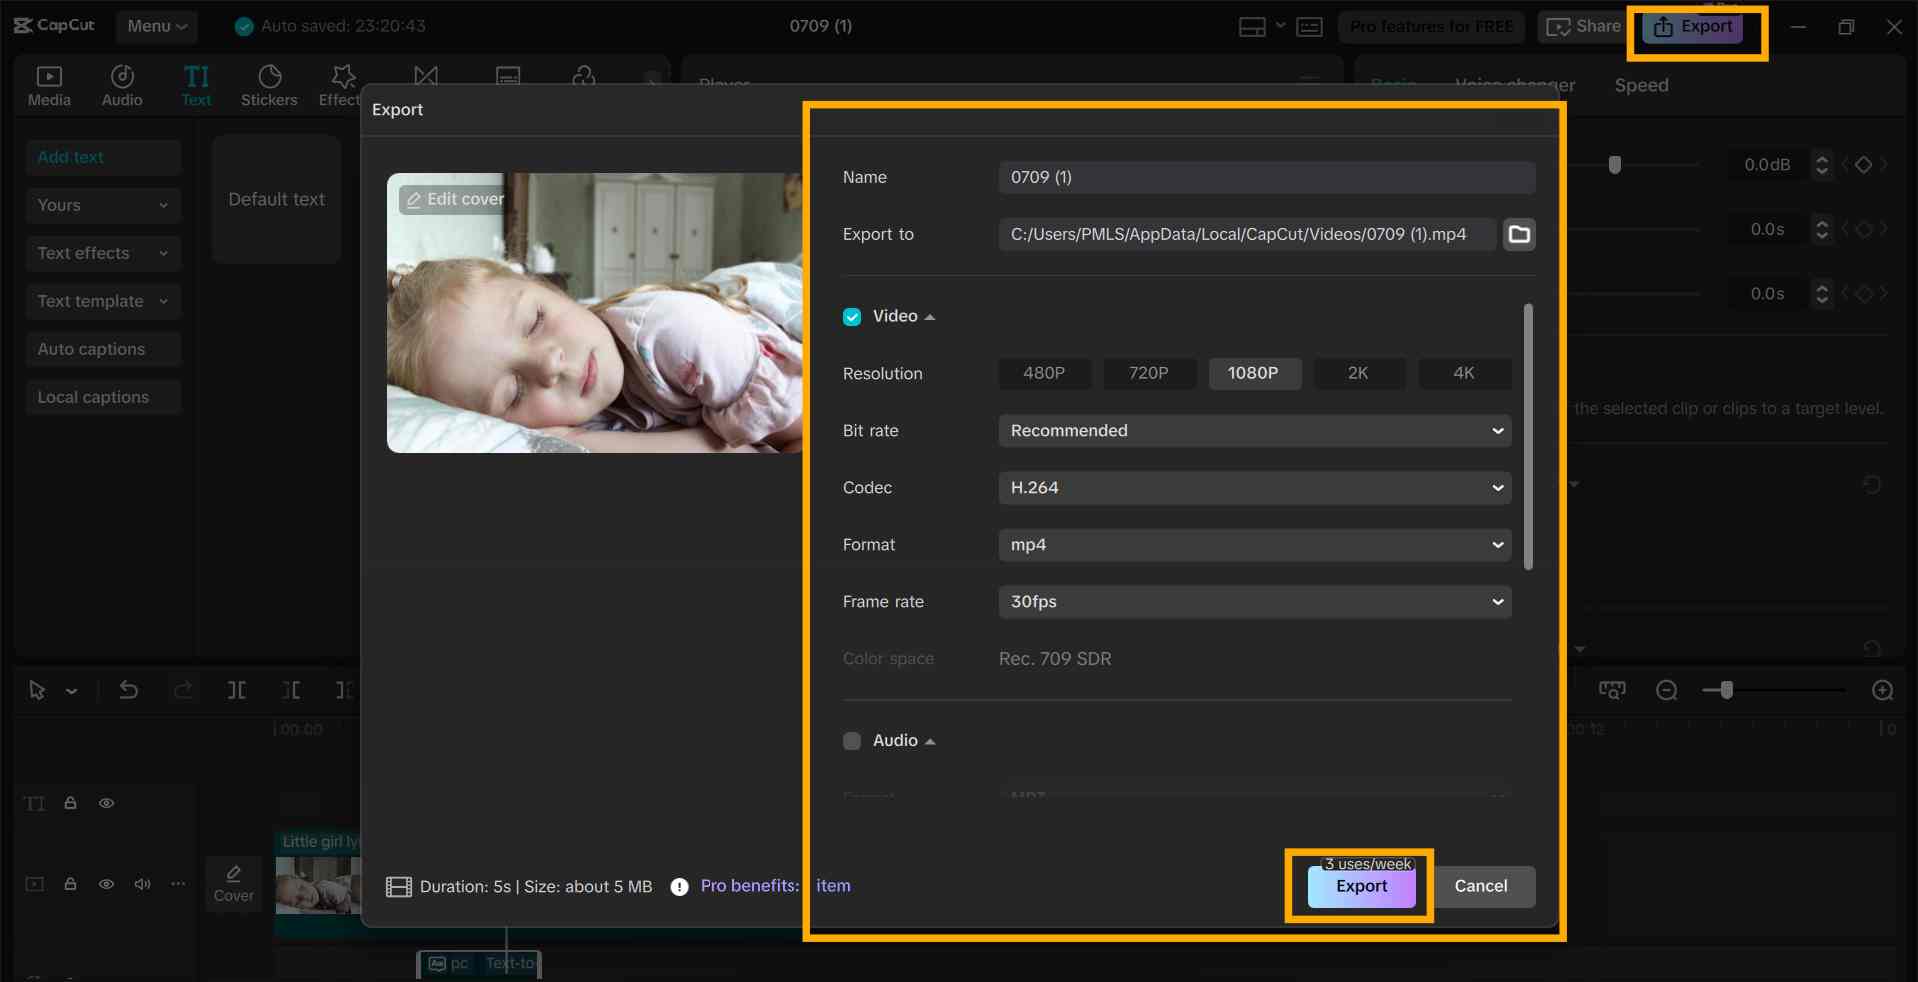
Step 5: Export the Final Video
Once you’re happy with the voice and timing, click on “Export” at the top right of the screen. Choose your video’s size, file format, and audio quality before exporting. Save the file to your device. Your story is now complete, with a fun voiceover that brings it to life.
Conclusion
A child-friendly voiceover can make a big difference in how kids connect with your story. The appropriate tone keeps them engaged and makes them enjoy the video throughout.
The CapCut desktop video editor simplifies this with its built-in text-to-speech feature. You don't require voice actors or additional tools to make an entertaining and concise voiceover.
Just be sure to download CapCut PC from the official website only, and see what features might require a paid subscription.
If you are going to plan your next animation for a kids' story, do experiment with a fun voice in CapCut PC. It can elevate your content to the next level, both professional and fun.